(2020/06/07 更新)
Viewに余白を付加するpaddingモデファイアについて解説します。
環境
この記事の情報は次のバージョンで動作確認しています。
【Xcode】11.5
【Swift】5.2.4
【iOS】13.5
【macOS】Catalina バージョン 10.15.4
【Swift】5.2.4
【iOS】13.5
【macOS】Catalina バージョン 10.15.4
基本的な使い方
|
1 2 3 |
.padding() |
Viewに対するModifierとして使用すると、Viewまわりのframeサイズを広げます。
広げる幅はシステムのデフォルトサイズが使用されます。
使用例
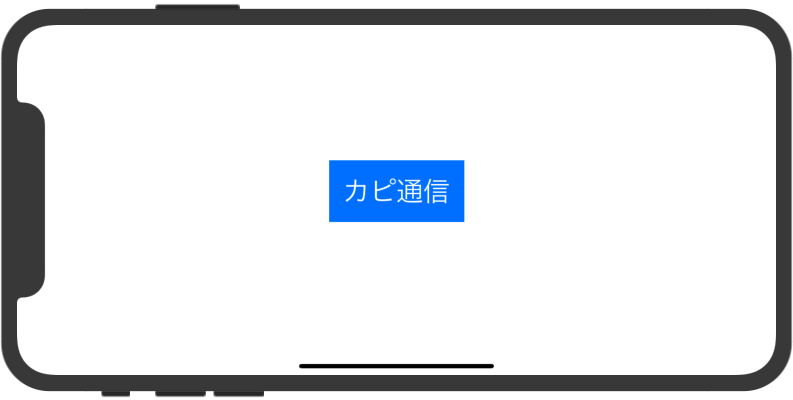
こちらの例はテキストに対してラベルのサイズがぴったりなので、すこし窮屈なイメージです。
|
1 2 3 4 5 6 7 8 9 10 |
struct ContentView: View { var body: some View { Text("カピ通信") .font(.largeTitle) .foregroundColor(.white) .background(Color.blue) } } |
次のように.padding()を追加すると、テキストの回りに余白が付加され自然な感じのラベルになります。
|
1 2 3 4 5 6 7 8 9 10 11 |
struct ContentView: View { var body: some View { Text("カピ通信") .font(.largeTitle) .foregroundColor(.white) .padding() // 余白を追加 .background(Color.blue) } } |
注意点として、このケースでは.padding()を追加する位置が重要です。
.background()の後に追加してしまうと、元のサイズで背景色を描画した後にフレームサイズが広がるので、見た目が変わりません。(もちろん本来の余白としてであればそれでも良いのですが・・)
これを逆手に取って、次の例では.padding()によって広げた部分を別の色で可視化しています。
|
1 2 3 4 5 6 7 8 9 10 11 12 |
struct ContentView: View { var body: some View { Text("カピ通信") .font(.largeTitle) .foregroundColor(.white) .background(Color.blue) // 元のサイズが青色 .padding() .background(Color.green) // 広げた部分が緑色 } } |
余白の幅を指定する
引数のタイプによって余白の幅を指定できます。
全ての辺の余白を同じ幅で指定
|
1 2 3 |
.padding(CGFloat) |
Viewまわりの余白サイズを数値で指定します。
使用例
|
1 2 3 4 5 6 7 8 9 10 11 |
struct ContentView: View { var body: some View { Text("カピ通信") .font(.largeTitle) .foregroundColor(.white) .padding(50) // 余白幅を指定 .background(Color.blue) } } |
特定の辺だけ余白を指定
|
1 2 3 |
.padding(Edge.Set, CGFloat = nil) |
最初の引数で、余白を付加する辺を指定します。
2つめの引数で、余白幅を指定します。未指定の場合は、システムのデフォルト値が適用されます。
辺の指定(Edge.Set)で使える値は次の通りです。
| 値 | 意味 |
|---|---|
| .all | すべての辺 |
| .top | 上辺のみ |
| .bottom | 下辺のみ |
| .leading | 左辺のみ |
| .trailing | 右辺のみ |
| .horizontal | 左右辺のみ |
| .vertical | 上下辺のみ |
使用例
|
1 2 3 4 5 6 7 8 9 10 11 |
struct ContentView: View { var body: some View { Text("カピ通信") .font(.largeTitle) .foregroundColor(.white) .padding(.horizontal) // 左右辺のみ余白を付加 .background(Color.blue) } } |
各辺の余白幅を個別に指定
|
1 2 3 4 5 6 7 8 |
.padding(EdgeInsets( top: CGFloat, // 上辺の余白幅 leading: CGFloat, // 左辺の余白幅 bottom: CGFloat, // 下辺の余白幅 trailing: CGFloat // 右辺の余白幅 )) |
各辺の余白幅を個別に指定可能です。一部省略はできません。
あわせて読みたい記事

【SwiftUI】Modifierの適用順
Viewに様々な変更を適用するModifierですが、適用する順番によって挙動が変わる事があります。 これはModifierが既存のViewのプロパティを変更しているのでは無く、変更を適用した新しいViewを毎回作成している事に関係します。

【SwiftUI】Textの使い方
(2021/09/24 更新) Textは読み取り専用テキストを表示するViewです。 UiKitのUILabelに相当する部品です。

