(2021/05/09 更新)
Labelはタイトルとアイコンで構成されたラベルを表示する為の専用Viewで、iOS14から使えるようになりました。
環境
この記事の情報は次のバージョンで動作確認しています。
【Xcode】12.5RC
【Swift】5.4
【iOS】14.5
【macOS】Big Sur バージョン 11.1
【Swift】5.4
【iOS】14.5
【macOS】Big Sur バージョン 11.1
基本的な使い方
文字列+システムアイコン
|
1 2 3 |
Label("タイトル", systemImage: "アイコン名") |
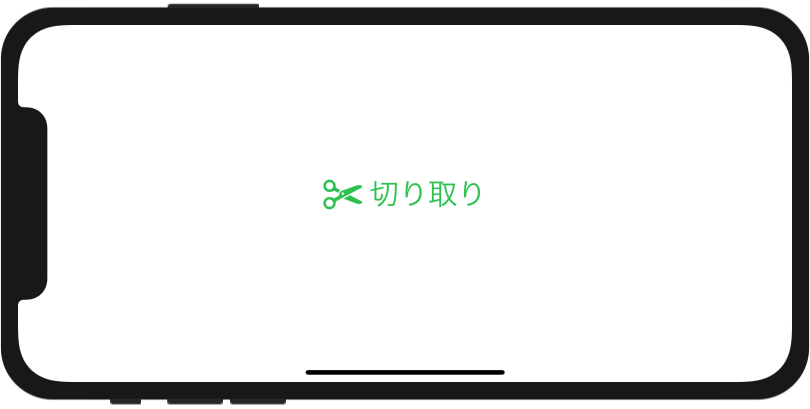
第一引数に文字列でタイトル、第二引数(systemImage)にシステムアイコン名(SF Symbols)を指定します。
Modifierでフォントサイズや色などの指定が可能です。
|
1 2 3 4 5 6 7 8 9 |
struct ContentView: View { var body: some View { Label("切り取り", systemImage: "scissors") .font(.largeTitle) .foregroundColor(.green) } } |
文字列+画像
|
1 2 3 |
Label("タイトル", image: "アイコン名") |
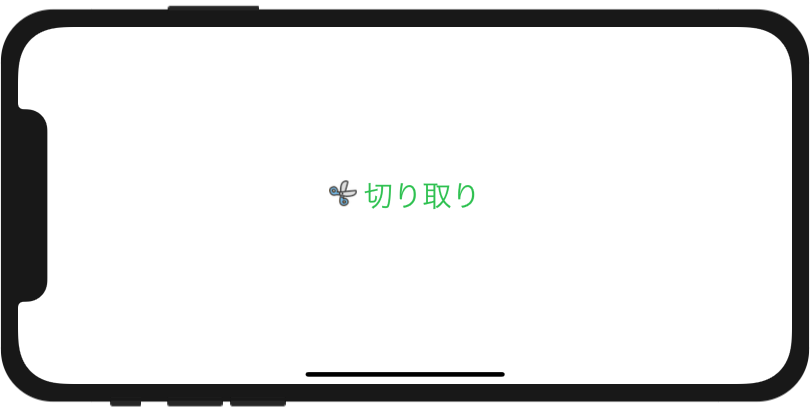
こちらのイニシャライザを使うと、アイコンに画像を指定できます。
ただし、Modifierでアイコンサイズの変更ができないので、使い勝手はあまり良く無いです。
|
1 2 3 4 5 6 7 8 9 |
struct ContentView: View { var body: some View { Label("切り取り", image: "はさみ") .font(.largeTitle) .foregroundColor(.green) } } |
タイトルとアイコンに個別にViewを定義
|
1 2 3 |
Label(title: { タイトルView }, icon: { アイコンView }) |
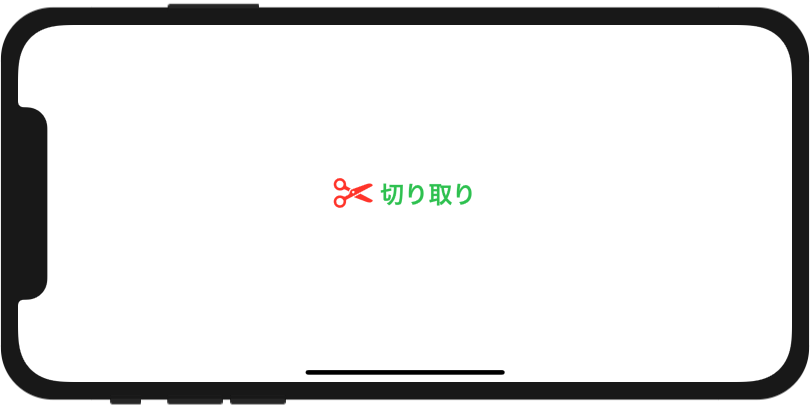
こちらのイニシャライザを使うと、タイトルとアイコンにViewを定義可能ですので、サイズや色など個々に設定可能です。
|
1 2 3 4 5 6 7 8 9 10 11 12 13 14 15 16 17 18 |
struct ContentView: View { var body: some View { Label( title: { Text("切り取り") .font(.title) .fontWeight(.bold) .foregroundColor(.green) }, icon: { Image(systemName: "scissors") .font(.largeTitle) .foregroundColor(.red) }) } } |
デフォルトの表示スタイルについて
Labelビューは使用される環境によって、デフォルトの表示スタイルが自動で変わります。
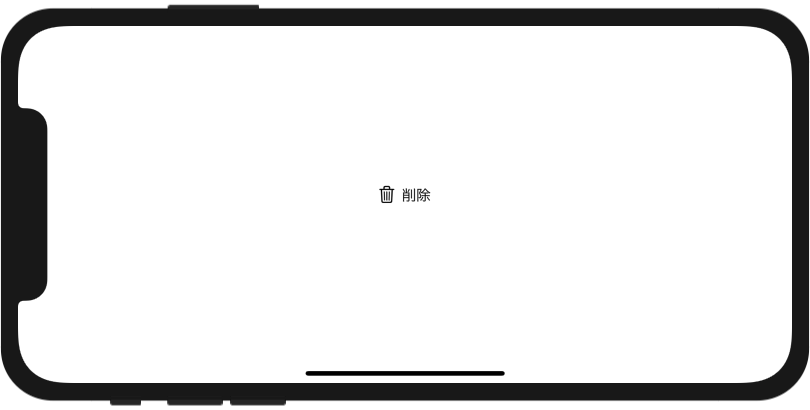
通常時のスタイル
アイコン→タイトルの並び順で表示されます。
|
1 2 3 4 5 6 7 |
struct ContentView: View { var body: some View { Label("削除", systemImage: "trash") } } |
ナビゲーションバー
ナビゲーションバーなど、表示領域が狭い場所では、タイトルが省略されアイコンのみの表示になります。
|
1 2 3 4 5 6 7 8 9 10 11 12 13 14 15 16 17 18 19 20 21 22 23 |
import SwiftUI struct ContentView: View { var body: some View { NavigationView { List { Text("Item 1") Text("Item 2") } .navigationTitle("NavigationBar") .navigationBarTitleDisplayMode(.inline) .toolbar { ToolbarItem(placement: .navigationBarTrailing) { Button(action: {print("削除")}) { Label("削除", systemImage: "trash") } } } } } } |
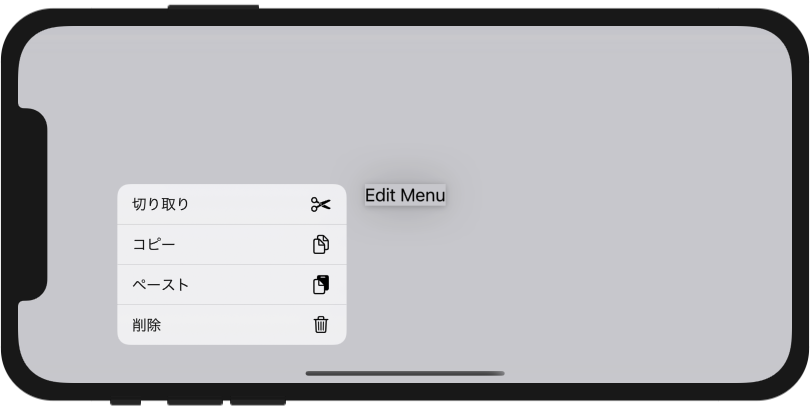
コンテキストメニュー
コンテキストメニューで使用すると、タイトル→(スペース)→アイコンの」表示になります。
(※コンテキストメニューの表示はテキストを「長押し」します)
|
1 2 3 4 5 6 7 8 9 10 11 12 13 14 15 16 17 18 19 20 21 22 |
struct ContentView: View { var body: some View { Text("Edit Menu") .contextMenu { Button(action: {print("切り取り")}) { Label("切り取り", systemImage: "scissors") } Button(action: {print("コピー")}) { Label("コピー", systemImage: "doc.on.doc") } Button(action: {print("ペースト")}) { Label("ペースト", systemImage: "doc.on.clipboard") } Button(action: {print("削除")}) { Label("削除", systemImage: "trash") } } } } |
表示スタイルの指定
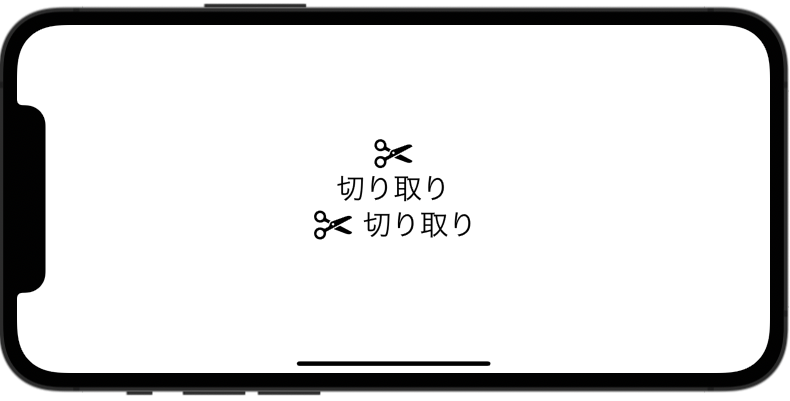
.labelStyle()モディファイアを使うとLabelの表示スタイルを指定できます。
|
1 2 3 4 5 6 7 8 9 10 |
// アイコンのみの表示するスタイル .labelStyle(IconOnlyLabelStyle()) // タイトルのみ表示するスタイル .labelStyle(TitleOnlyLabelStyle()) // タイトルとアイコンの両方を表示するスタイル(iOS4.5以降で使用可) .labelStyle(TitleAndIconLabelStyle()) |
|
1 2 3 4 5 6 7 8 9 10 11 12 13 14 15 16 17 18 19 |
import SwiftUI struct ContentView: View { var body: some View { VStack { Label("切り取り", systemImage: "scissors") .labelStyle(IconOnlyLabelStyle()) // アイコンのみの表示するスタイル Label("切り取り", systemImage: "scissors") .labelStyle(TitleOnlyLabelStyle()) // タイトルのみ表示するスタイル Label("切り取り", systemImage: "scissors") .labelStyle(TitleAndIconLabelStyle()) // タイトルとアイコンの両方を表示するスタイル } .font(.largeTitle) } } |
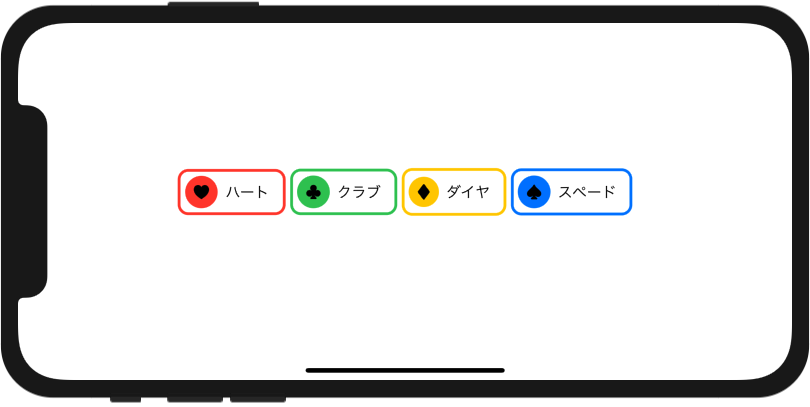
カスタムスタイルの作成
LabelStyleに準拠させると、次のように独自のラベルスタイルが作成可能です。
|
1 2 3 4 5 6 7 8 9 10 11 12 13 14 15 16 17 18 19 20 21 22 23 24 25 26 27 28 29 30 31 32 33 34 35 36 37 38 39 40 |
struct ContentView: View { var body: some View { HStack { Label("ハート", systemImage: "suit.heart.fill") .labelStyle(MyLabelStyle(color: .red)) Label("クラブ", systemImage: "suit.club.fill") .labelStyle(MyLabelStyle(color: .green)) Label("ダイヤ", systemImage: "suit.diamond.fill") .labelStyle(MyLabelStyle(color: .yellow)) Label("スペード", systemImage: "suit.spade.fill") .labelStyle(MyLabelStyle(color: .blue)) } } } /// カスタムラベルスタイル struct MyLabelStyle: LabelStyle { let color: Color func makeBody(configuration: Configuration) -> some View { HStack { configuration.icon // アイコン .padding(10) .background(Circle().fill(color)) configuration.title // タイトル .padding(.trailing, 10) .lineLimit(1) // 改行させない } .padding(6) .background(RoundedRectangle(cornerRadius: 10).stroke(color, lineWidth: 3)) } } |
あわせて読みたい記事

【SwiftUI】画像(Image)の使い方
SwiftUIで画像を表示するのには、Image()を使用します。 Image()はプロジェクトに取り込んだ画像の他に、OSに標準で組み込まれたシステムアイコンの表示も可能です。

